Monday, September 30, 2013

Random Yard Findings

So in case you had forgotten, our property used to be a landscaping company. We have been clearing out so much junk and trying to find uses for some of it, but a lot of it just needs to go. Love how much we have found (and I know we'll find more), but seriously....anyone have any projects they could use this stuff in? Here's a list of free materials:
LOTS of PVC pipe: 1" and 1.5" diameter....bits from about 1' long to 20' long pieces (we have at least 20 pipes full length).
5 12' sections white vinyl siding with various channel and corner pieces—perfect for a dog house project ;)
2 rubber bobcat tracks
Pile of scrap metal (mostly fencing)

Green plastic netting


Thursday, September 26, 2013

Building a Raised Bed with Bamboo

I'm really excited about this post. This was a project that definitely exceeded my expectations. Jake and I are wanting to start planting food as soon as possible and making our raised beds was the next step. We have SO MANY natural materials lying around our property, that we knew we could surely make something without spending a penny. Jake did some research, found inspiration for this idea and went with it.

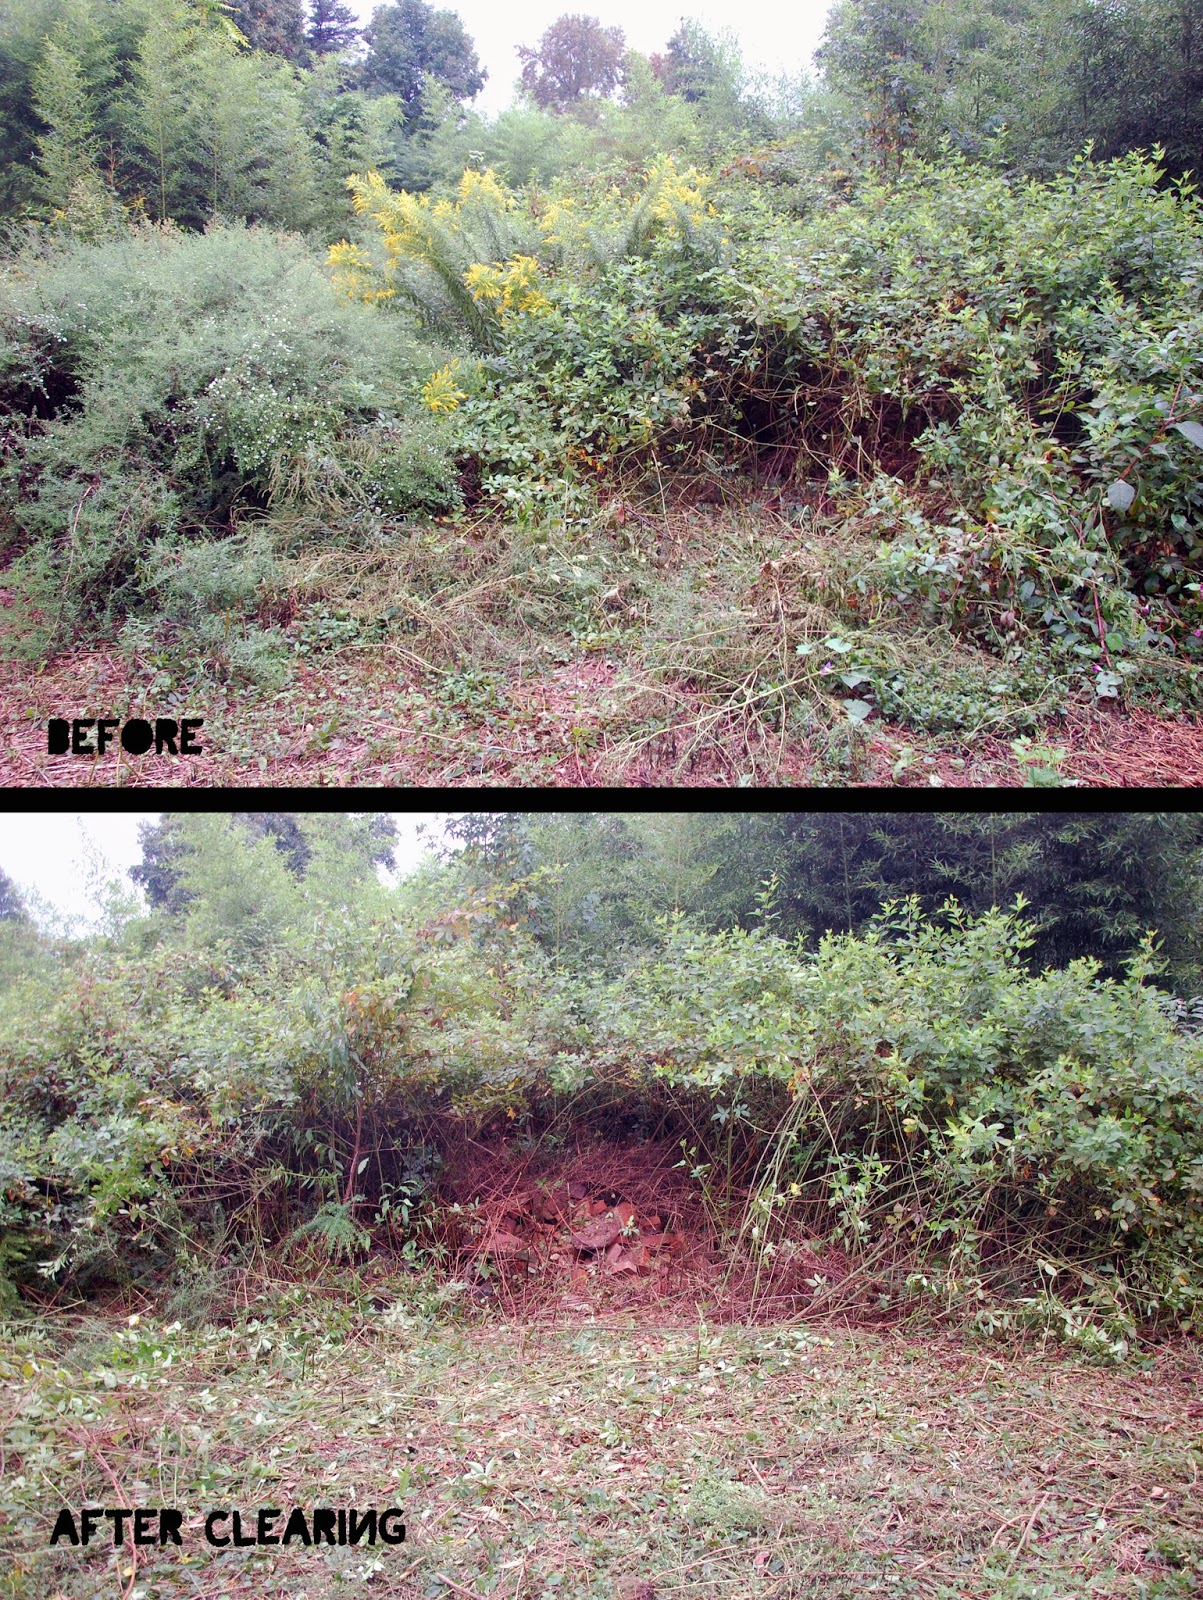
Step 1: Clear some land area


We found some stakes just chilling in our yard


Step 2: Sharpen stakes with whatever means necessary (just be careful with those machetes!)


Step 3: Trim up some bamboo (save the thin ends for future marshmallow roasting)


We did a trial wall of the raised bed to see how it would work. At first I was skeptical, but as the wall grew, so did my excitement.

Step 4: Hammer stakes into the ground at each corner of planned bed and 1 or 2 in between the corners.

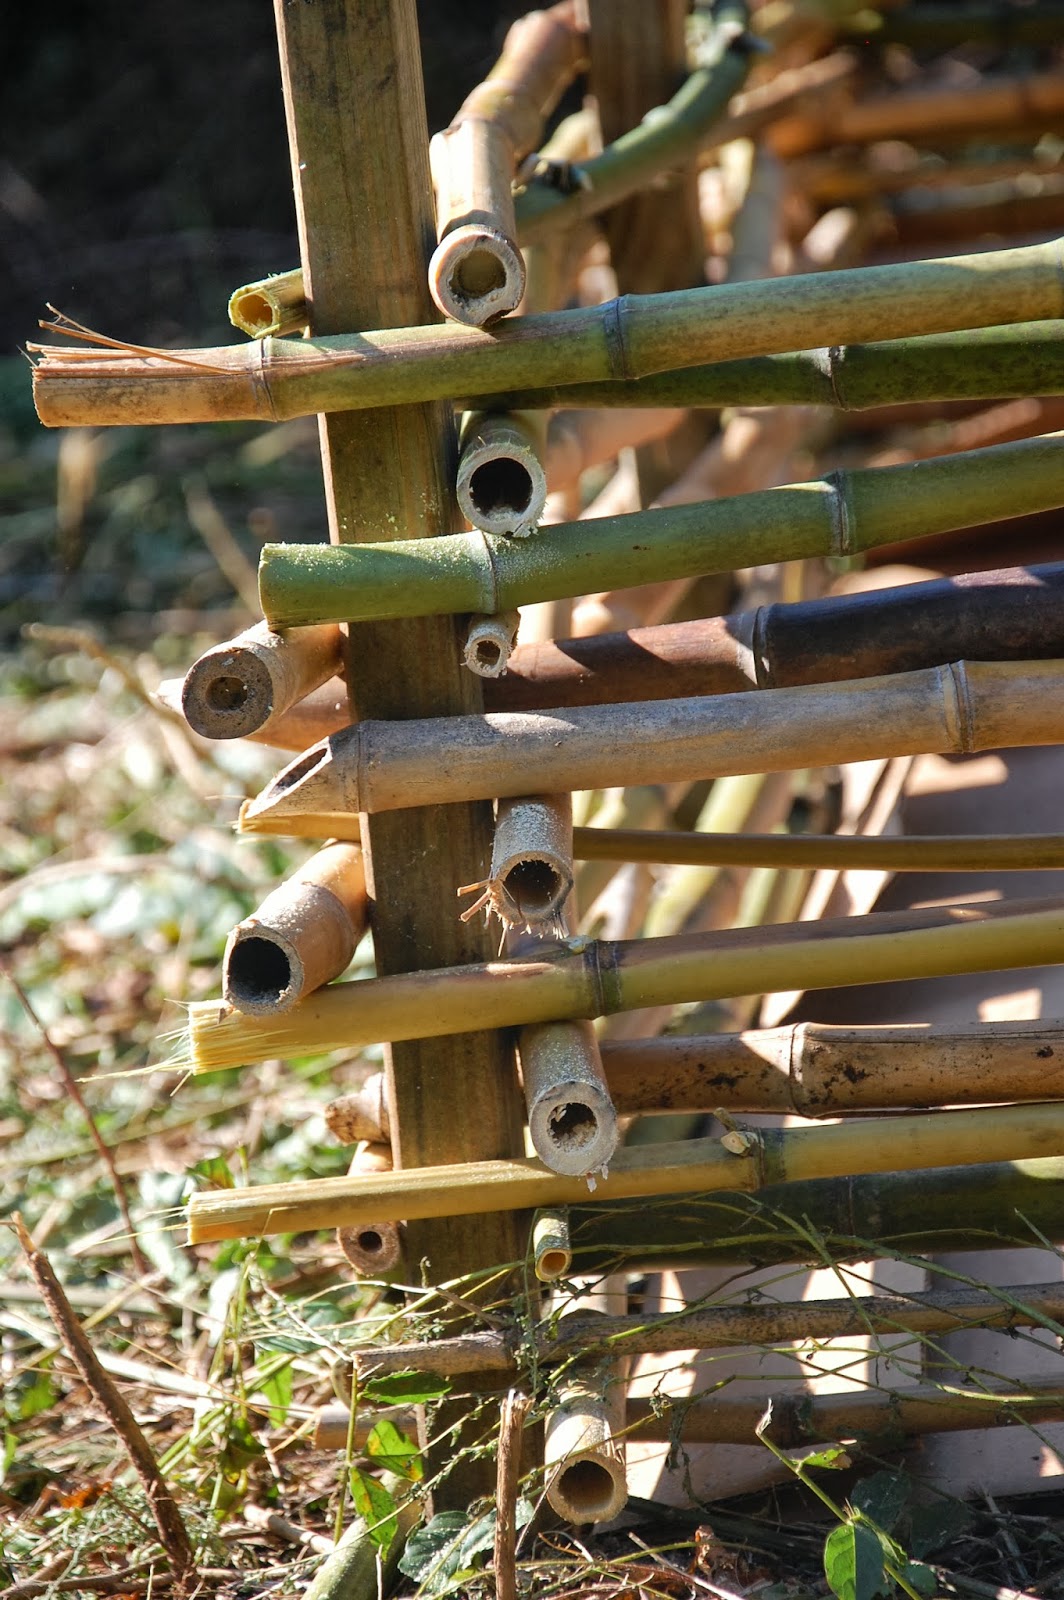
Step 5: Weave bamboo in between stakes. We chose a 5'x8' format for this raised bed. This trial wall is the 5' side.


Finished weaving!


Step 6: Trim off stakes


Finished!


The finished wall looked so great, we decided to build the full thing. But first, sharpen more stakes!


Measure for placement, then hammer into the ground


We added cardboard at the bottom for our base layer of the bed itself. Jake undid the trial wall, and started over so all the bamboo would interweave well.


Then he realized bamboo wasn't THAT bendy and switched to 4 stakes instead of 5 on the long ends of the bed.


Trim off the stakes at the very end.


Finished!!


So proud of him.


Tuesday, September 24, 2013

Fall Finds

I am not one of those people who decorates differently as each season changes. But, I'd like to do a bit more of it and add little touches around the house. I've kept my eyes peeled for some fun fall decor that still fits in with the overall look of my home.

Today, I stopped by Habitat for Humanity on Wade Hampton Blvd. and found this beautiful leather bag that is perfect for hauling around my Kids4Truth paperwork and craft materials. Price tag? Only $5. I can't find much on this brand though—if anyone knows anything about it, please comment on this post!

On my way out the door (after paying for the bag), I noticed these sweet little brass Jack O' Lantern candle holders sitting on a table. I couldn't pass them up and bought all 4 (Only $1.50 each). Now, I have 2 on my dining room mantle, one on a side table with a plant, and one by my goldfish in my living room. THAT is the kind of fall decorating I was looking for. Little sweet touches like this.


Perfect for holding craft supplies!


Monday, September 23, 2013

Fire Pit

About a month ago, Jake built a makeshift fire pit to burn some of our brush in (safely of course). He picked a random spot, but when we thought about it more it's actually a perfect spot and we wanted to make the pit permanent. It's located not too close to the house, but not too far away. Under the trees, but not quite where they could catch fire. It's off the path down through our backyard, but not far off. Honestly, I'm thrilled.

Jake had found a bunch of random cement blocks and whatnot to surround the area, and all we had to do was find a bunch of awesome stones around our property and lug them back to the pit and place them prettily around. Jake did most of the lugging and I did most of the placing. (But for the record, I did do SOME lugging).

Looking forward to some awesome fall bonfire nights with s'mores and hot chocolate. <3

Before

Finding rocks

Finding rocks

Seriously, our backyard is a jungle
Getting rid of the old fire pit
New fire pit!
New fire pit!


Friday, August 23, 2013

Friend

We have a sweet little friend that lives in our back garden shed. Finally got a good shot of him. Love his little face!

Wednesday, August 7, 2013

Worm Farm

Finally! Another urban farming post! (Check out the pallet compost bin post and maybe the post that included our blackberry backyard craziness.)

South Carolina is kind of known for it's awful red clay that pretends to be dirt. And since we're wanting to start up a nice veggie garden in the spring, we wanted to get started on this mess now. Of course we started our compost bin. Which certainly has been nice, if anything just to keep down our trash output. (Between composting and recycling, we go through less than a bag of trash a week.) Jake is looking into ways to make our raised beds from the massive amounts of bamboo we have on our property. And we're going to be doing a sort of lasagna gardening to get those raised beds ready for spring. BUT we need nice soil to plant in!

Jake did a bunch of research on worm farming. And that's what this post is about—our first worm farm. Those little buggers are going to transform our red clay into beautiful soil. The whole process is pretty easy. We bought 120 worms from a girl we know (who was saving up for a gymnastics leotard....it's so much better to help out a friend like that than buy them from a store—you'd be surprised how many kids would be willing to catch worms for money). We got a bunch of nice dirt to house them in from that family, and even THAT soil was made more beautifully crumbly by the worms while they lived in that. Jake picked up a cheap plastic storage bin, filled it with red clay from one of our earth mounds in our backyard, then we dumped the worms in, topped it with wet newspaper strips (as per Jake's research), drilled some holes in the top (we had to do something cool....chose the Orion constellation) and ta da! Finished. That simple. We'll feed them fruit or lettuce or whatever compost we have on hand about once a week. We're keeping them in our little garden shed so it's not too hot for them. Once we have those raised beds built, we'll dump the good soil in them with a few of the worms, and put more red clay in the storage bin with most of the worms, and keep going! Here are some pictures of the process.


Crazy the difference, right?