

Friday, August 23, 2013
Friend
We have a sweet little friend that lives in our back garden shed. Finally got a good shot of him. Love his little face!


Wednesday, August 7, 2013
Worm Farm
Finally! Another urban farming post! (Check out the pallet compost bin post
and maybe the post that included our blackberry backyard craziness.)
South Carolina is kind of known for it's awful red clay that pretends to be dirt. And since we're wanting to start up a nice veggie garden in the spring, we wanted to get started on this mess now. Of course we started our compost bin. Which certainly has been nice, if anything just to keep down our trash output. (Between composting and recycling, we go through less than a bag of trash a week.) Jake is looking into ways to make our raised beds from the massive amounts of bamboo we have on our property. And we're going to be doing a sort of lasagna gardening to get those raised beds ready for spring. BUT we need nice soil to plant in!
Jake did a bunch of research on worm farming. And that's what this post is about—our first worm farm. Those little buggers are going to transform our red clay into beautiful soil. The whole process is pretty easy. We bought 120 worms from a girl we know (who was saving up for a gymnastics leotard....it's so much better to help out a friend like that than buy them from a store—you'd be surprised how many kids would be willing to catch worms for money). We got a bunch of nice dirt to house them in from that family, and even THAT soil was made more beautifully crumbly by the worms while they lived in that. Jake picked up a cheap plastic storage bin, filled it with red clay from one of our earth mounds in our backyard, then we dumped the worms in, topped it with wet newspaper strips (as per Jake's research), drilled some holes in the top (we had to do something cool....chose the Orion constellation) and ta da! Finished. That simple. We'll feed them fruit or lettuce or whatever compost we have on hand about once a week. We're keeping them in our little garden shed so it's not too hot for them. Once we have those raised beds built, we'll dump the good soil in them with a few of the worms, and put more red clay in the storage bin with most of the worms, and keep going! Here are some pictures of the process.


South Carolina is kind of known for it's awful red clay that pretends to be dirt. And since we're wanting to start up a nice veggie garden in the spring, we wanted to get started on this mess now. Of course we started our compost bin. Which certainly has been nice, if anything just to keep down our trash output. (Between composting and recycling, we go through less than a bag of trash a week.) Jake is looking into ways to make our raised beds from the massive amounts of bamboo we have on our property. And we're going to be doing a sort of lasagna gardening to get those raised beds ready for spring. BUT we need nice soil to plant in!
Jake did a bunch of research on worm farming. And that's what this post is about—our first worm farm. Those little buggers are going to transform our red clay into beautiful soil. The whole process is pretty easy. We bought 120 worms from a girl we know (who was saving up for a gymnastics leotard....it's so much better to help out a friend like that than buy them from a store—you'd be surprised how many kids would be willing to catch worms for money). We got a bunch of nice dirt to house them in from that family, and even THAT soil was made more beautifully crumbly by the worms while they lived in that. Jake picked up a cheap plastic storage bin, filled it with red clay from one of our earth mounds in our backyard, then we dumped the worms in, topped it with wet newspaper strips (as per Jake's research), drilled some holes in the top (we had to do something cool....chose the Orion constellation) and ta da! Finished. That simple. We'll feed them fruit or lettuce or whatever compost we have on hand about once a week. We're keeping them in our little garden shed so it's not too hot for them. Once we have those raised beds built, we'll dump the good soil in them with a few of the worms, and put more red clay in the storage bin with most of the worms, and keep going! Here are some pictures of the process.




 |
| Crazy the difference, right? |


Tuesday, July 2, 2013
Blackberries, Yard Sales, and Thrift Stores
Recently we've been exploring our backyard more and just found that we have LOADS of blackberry bushes back there. They're everywhere! Love having easily attainable fruit like that.
Also, wasn't going to yard sale on Saturday, but there was a good-looking one on my way home from the gym that I couldn't pass up. Good thing though! Had only $8 on me and managed to pick up an antique table and 3 planters for that price. Woo hoo!
Found this little patio gem for $20 at SOS Thrift Store this afternoon. I LOVE the colors of the metal and stone with the blue and teal glass. So happy with this table.
Happy with all these finds....blackberries, tables, and planters.


Also, wasn't going to yard sale on Saturday, but there was a good-looking one on my way home from the gym that I couldn't pass up. Good thing though! Had only $8 on me and managed to pick up an antique table and 3 planters for that price. Woo hoo!
Found this little patio gem for $20 at SOS Thrift Store this afternoon. I LOVE the colors of the metal and stone with the blue and teal glass. So happy with this table.
Happy with all these finds....blackberries, tables, and planters.


Thursday, June 13, 2013
Elk Antlers
Aren't these majestic? These were in Jake's aunt and uncle's garage.
Thankful that Linda remembered them and was sweet enough to offer them
to us. Richard's dad shot this elk in Wyoming in 1965. The best part of
this piece is the tag still on the antlers. These antlers are a treasure
and a family heirloom, and we are so pleased to proudly display them.
If you're wondering size...remember, our ceilings are 10 feet high. =)


Tuesday, May 28, 2013
Painting the Entry (Accent Stripe)
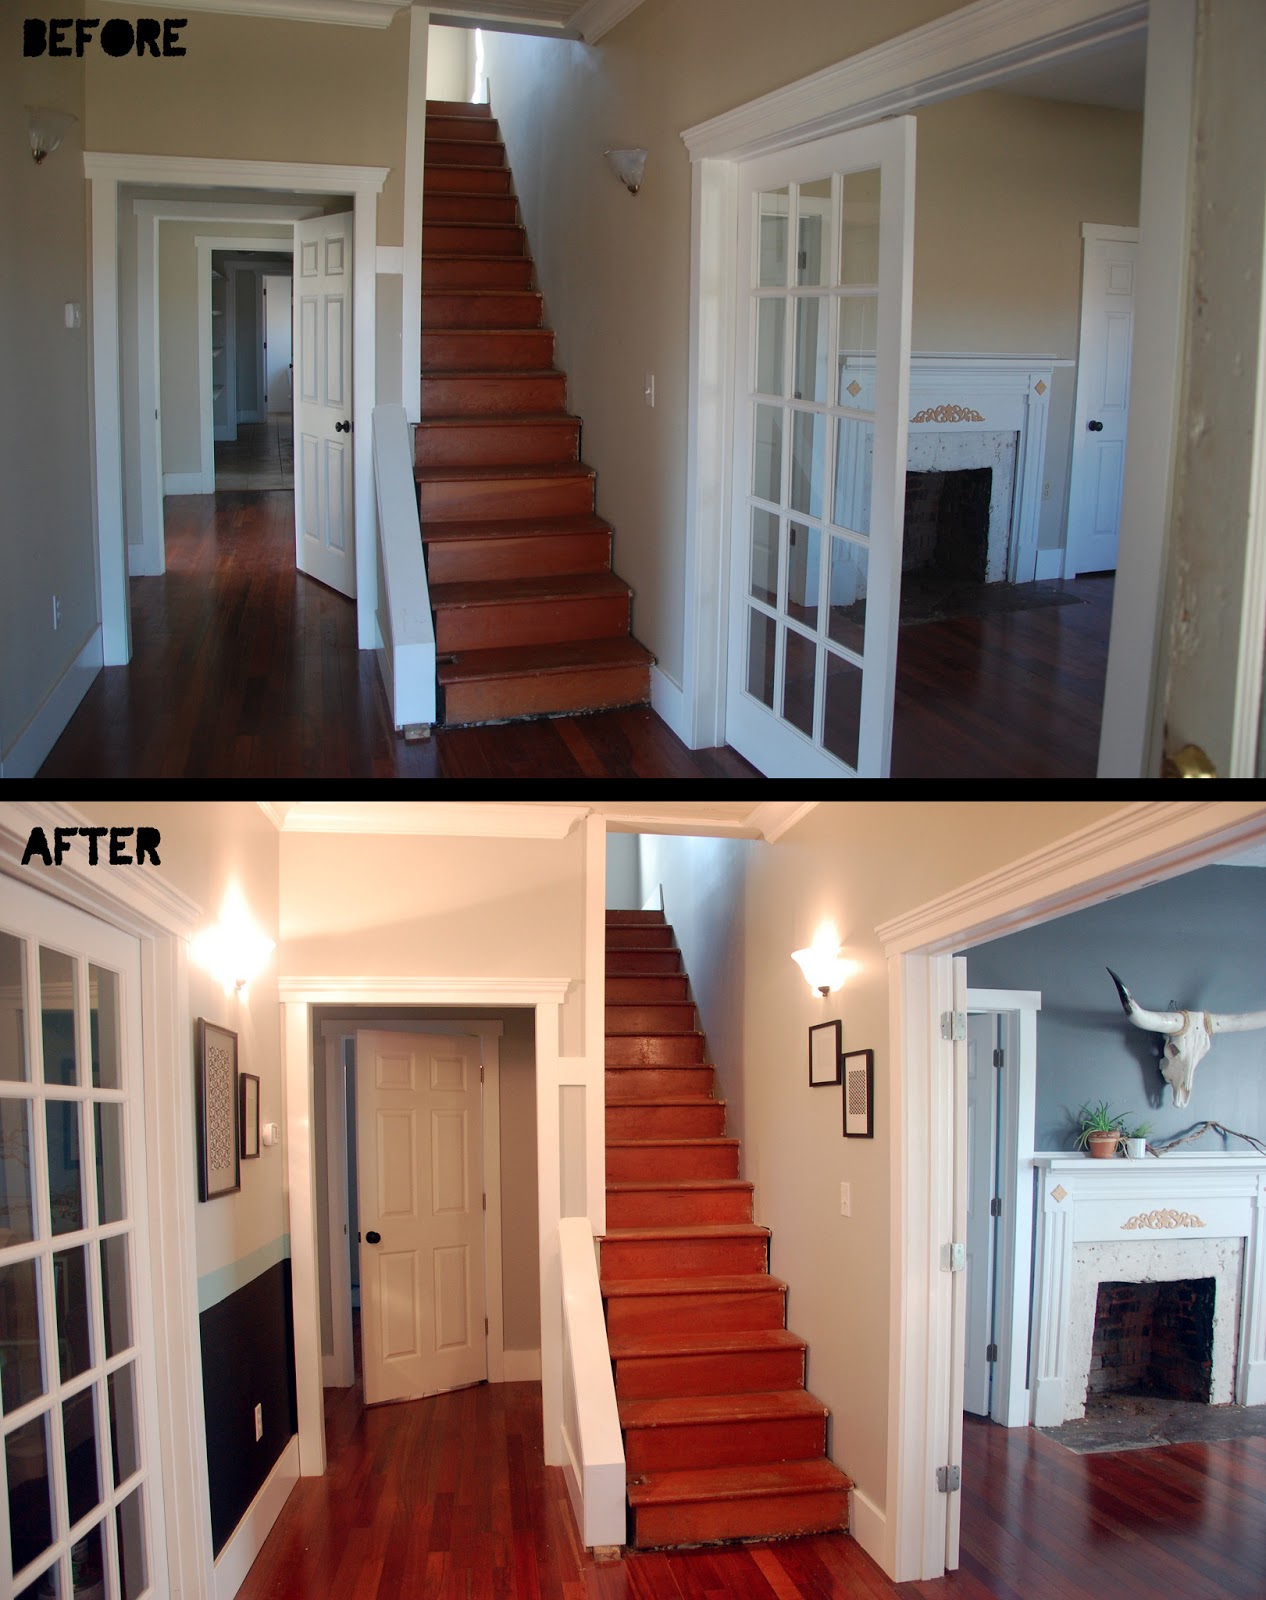
I didn't want to go crazy with painting in the house. Didn't want to do typical accent walls or a million different colors throughout the house. So we chose a few colors and decided to paint the whole house in different ways with those few colors. Most of our rooms are just 1 of those colors, plain and simple. You've already seen the dining room (if not, check out this post), and here is the only other really interesting paint job I'm doing in the house. I went with a sort of classic feel but with chalkboard paint (at a good child's height), a fun aqua, and the fresh light grey that is throughout most of the house.
Jake and I figured out a width we wanted the stripe to be and the level on the wall it would be. He measured and I taped. I put the tape on the inside of the stripe so I could paint the bottom and top and leave the stripe for last. I painted the chalkboard paint, then the light grey and re-taped it so the tape was on the outside of the stripe. I just used a brush and lightly (so as to not glop around the tape line) painted the aqua on. I pulled off the tape while the paint was still wet.
I included a picture of what happens a lot of time because of gravity with the paint. It wasn't this bad in most areas, I just photographed the worst to show you what can happen. But those little drips were easily fixed with a little brush, some chalkboard paint, and a steady hand. =)
I LOVE how much our house is changing. It really is becoming OURS.


Jake and I figured out a width we wanted the stripe to be and the level on the wall it would be. He measured and I taped. I put the tape on the inside of the stripe so I could paint the bottom and top and leave the stripe for last. I painted the chalkboard paint, then the light grey and re-taped it so the tape was on the outside of the stripe. I just used a brush and lightly (so as to not glop around the tape line) painted the aqua on. I pulled off the tape while the paint was still wet.
I included a picture of what happens a lot of time because of gravity with the paint. It wasn't this bad in most areas, I just photographed the worst to show you what can happen. But those little drips were easily fixed with a little brush, some chalkboard paint, and a steady hand. =)
I LOVE how much our house is changing. It really is becoming OURS.


Tuesday, May 21, 2013
Chalkboard Cabinets
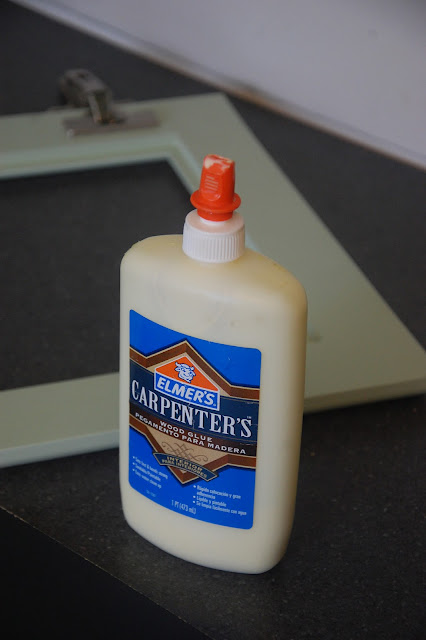
When we got our house, 2 of the cabinets in the kitchen just had the frame, and no panel in them. I assume they were going to eventually put glass in them, but in the end, they were glass-less and shelf-less. They are still shelf-less (it's on Jake's super long to-do list), but now they have panels. I'm not one to show off my dishes or anything, so getting glass for the doors wasn't really something I was thrilled about. Then I realized chalkboard would be perfect. I found chalkboard panels at Home Depot, had them cut the panels to size there, and fit them in without too much hassle. I used wood glue to set them in and then push points to stabilize the whole thing. Really simple project that is helpful in both hiding my things and to use as menu and grocery list boards! (Still have to purchase those awesome chalkboard markers....)

 |
| Before |


 |
| After |
Monday, May 20, 2013
Mid-Century Modern
I've been really drawn to the mid-century modern style for our living room. The clean lines just really do something for me. I wanted to make sure the dining room and living room have distinct styles, and by using cleaner lines in the living room and more ornate/intricate pieces in the dining room, I think that I am accomplishing that goal.
(Check out my living room board on Pinterest here.)
I have been trying to find most of our furnishings at thrift stores—not just to cut down on costs (because anyone who regularly goes thrifting knows that prices have been skyrocketing, so that can't be reason alone), but also to just reuse what has already been made. Keeping stuff out of landfills is really important to me, and I want to do my part in recycling, and this is one way to do it.
That being said, I'm not the only one drawn to mid-century modern furniture right now, and so it is difficult to find good pieces for good prices at thrift stores. So imagine my surprise when I walked into SOS Thrift Store on the corner of Rutherford and Wade Hampton and saw this little gem for $80! It is beautiful and I love it and I immediately claimed it with the cashier before looking around the rest of the store. The only issue with it is that someone replaced the top with particle board that doesn't match the beautiful wood on the rest of the piece, so Jake will be re-replacing that top sometime in the future.
But for now, it's a lovely piece that really helps out our living room.

So then my dad remembered that he had my great-grandma's coffee table in storage....which she bought in the 1950s. And yes, it fits in superbly. We were wanting a pretty large coffee table, so we may replace it in the future, but for now it's awesome and I like it a lot, and....it was free. Happy about how all this is coming together!

(Check out my living room board on Pinterest here.)
I have been trying to find most of our furnishings at thrift stores—not just to cut down on costs (because anyone who regularly goes thrifting knows that prices have been skyrocketing, so that can't be reason alone), but also to just reuse what has already been made. Keeping stuff out of landfills is really important to me, and I want to do my part in recycling, and this is one way to do it.
That being said, I'm not the only one drawn to mid-century modern furniture right now, and so it is difficult to find good pieces for good prices at thrift stores. So imagine my surprise when I walked into SOS Thrift Store on the corner of Rutherford and Wade Hampton and saw this little gem for $80! It is beautiful and I love it and I immediately claimed it with the cashier before looking around the rest of the store. The only issue with it is that someone replaced the top with particle board that doesn't match the beautiful wood on the rest of the piece, so Jake will be re-replacing that top sometime in the future.
But for now, it's a lovely piece that really helps out our living room.

So then my dad remembered that he had my great-grandma's coffee table in storage....which she bought in the 1950s. And yes, it fits in superbly. We were wanting a pretty large coffee table, so we may replace it in the future, but for now it's awesome and I like it a lot, and....it was free. Happy about how all this is coming together!

Subscribe to:
Posts (Atom)